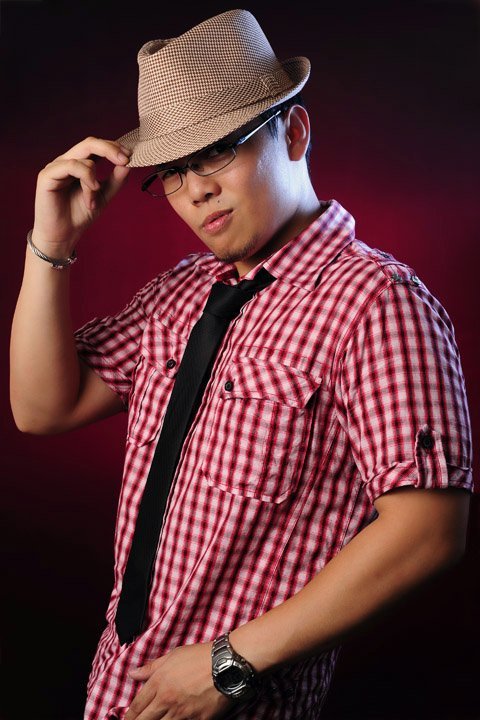
I've gotten a lot of questions asking how was I able to do the light painting... so here are the steps broken down and explained :)
Set-up.
Here are the things that you'll need:
- Camera on a tripod (doesn't have to be a DSLR, just as long as you can manually set the aperture and shutter speed settings; and yes the tripod is a necessity)
- External flash (can be a speedlight triggered off-cam or a studio strobe)
- Flashlight
- lots of imagination :D
Step 1: Prepare the aperture and shutter speed settings
- WITHOUT triggering the flash, click on the camera
- ideally, the shutter speed should be around 10-20 seconds long
- the resulting pic should be pitch black
- this is why the area should be very dimly lit
Step 2: Prepare the flash setting
- with the determined aperture setting, get the flash power output that will properly expose you in the picture
Step 3: Light Painting Time!
- after the prep work is complete, it's time to do the actual light painting!
- trigger the camera (remember that the shutter speed should be 10-20secs long)
Step 4: Draw!
- using your flashlight, draw whatever your imagination can think of
- the flashlight should be pointed at the camera
- you should finish your drawing before the shutter closes
Step 5: Pose & Trigger
- after you finish your drawing, and still before the shutter closes, do your pose
- then trigger the external flash
End Result
- final picture should be your posed shot with the "drawing" imposed in the foreground
That's it! Hope this helps and good luck with your light paintings :D
About Me

- Daley
- This site is due to be discontinued... Kindly go to this site instead http://foreverframedstudio.com/ :)
Subscribe to:
Post Comments (Atom)


No comments:
Post a Comment